How big a power supply does an LED strip need, and why does the far end go dim?
The strip behind the TV is bright at the plug end and a shade duller by the far corner, or the supply under the desk is too hot to keep a hand on. Both come from the two numbers printed on the reel — watts per metre and voltage — and both are settled by arithmetic before anything is stuck to a wall.
Key takeaways
- Supply size = watts per metre × metres × 1.25, rounded up to the next size sold. 5 m of 14.4 W/m strip needs 100 W.
- Check the controller's per-channel amps, not just the supply. 72 W is 6 A at 12 V and 3 A at 24 V.
- Far-end dimming is voltage drop. Below 90% of nominal at the tail — 10.8 V or 21.6 V — inject power from the same supply.
- Never join two supplies' power rails on one strip. Split the strip electrically and carry only the data line across.
- Run the white test: full white, full brightness, ten minutes, then feel the supply and the controller.
Everything here is the 12 V or 24 V between your supply and your strip. Mains wiring, opening a power supply, anything on the AC side: in most jurisdictions that is an electrician's job, and in many it is a legal requirement.
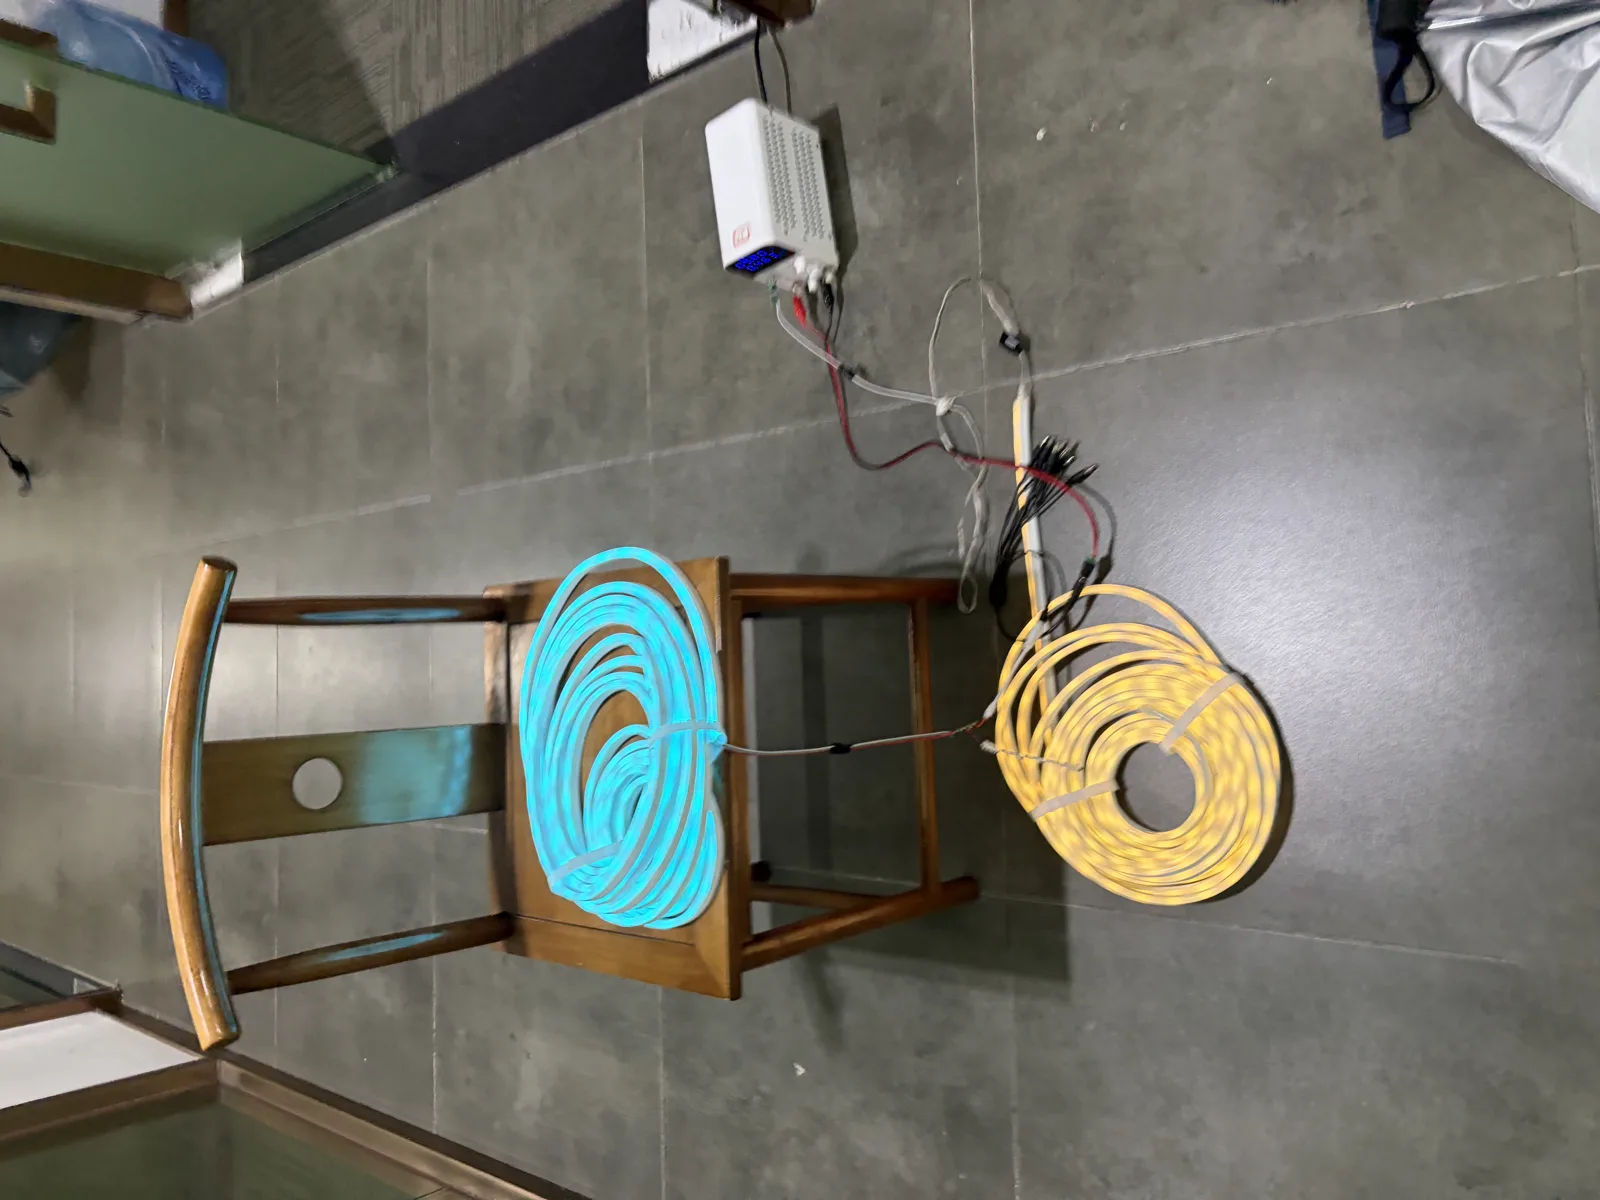
Work out what the strip draws
Find the watts per metre. It is on the reel, the box or the listing, usually as "W/m" or "watts per metre". Multiply by your length:
Total load (W) = watts per metre × metres
A 14.4 W/m strip over 5 m is 72 W. Now add headroom. A supply run continuously at its rated output gets hot, and heat is what kills supplies:
Supply size = total load × 1.25, rounded up to the next size sold
72 W × 1.25 = 90 W, so buy a 100 W supply. A 100 W supply running at 72 W sits inside its comfortable range, runs cooler and lasts considerably longer than a 75 W supply running at 96% forever. A supply rated well above the load is never a problem: it delivers only the current the load draws, and the rating is a ceiling, not a setting. The one figure to match exactly is voltage — a 24 V supply on a 12 V strip destroys it immediately.
| Strip | Length | Total load | Supply to buy | Current at 12 V | Current at 24 V |
|---|---|---|---|---|---|
| 4.8 W/m | 5 m | 24 W | 30 W | 2 A | 1 A |
| 9.6 W/m | 5 m | 48 W | 60 W | 4 A | 2 A |
| 14.4 W/m | 5 m | 72 W | 100 W | 6 A | 3 A |
| 14.4 W/m | 10 m | 144 W | 200 W | 12 A | 6 A |
Those three per-metre figures are the ones you will see most often on a reel: 4.8 W/m is a sparse single-colour strip, 9.6 W/m a dense one, 14.4 W/m a typical RGB strip. The current columns are the numbers the next section needs.
If W/m is not stated, do not guess from the LED count. Two strips with the same LEDs per metre can differ in draw by two or three times depending on the LEDs used. A strip with no stated power figure is a strip you cannot size a supply for — and that alone is a reason to be cautious about it.
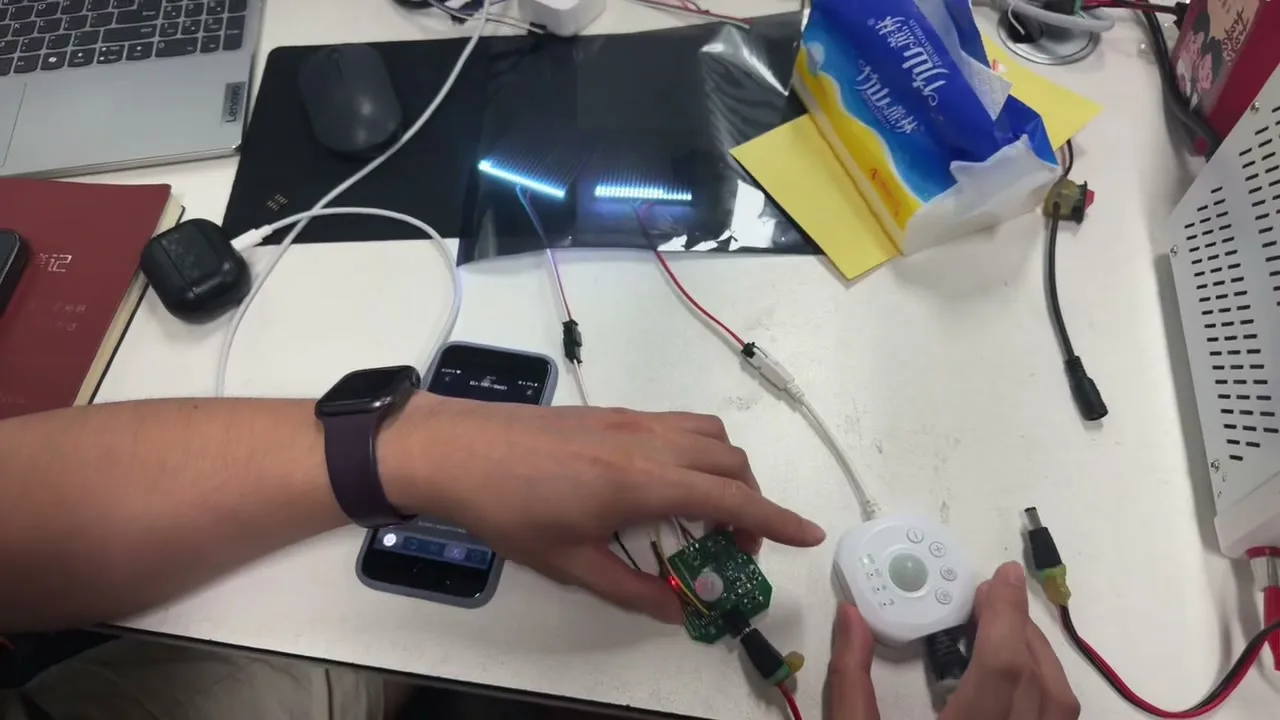
Check the controller's rating, not just the supply's
This is the step that gets skipped, and it is the one we see fail.
The controller sits between the supply and the strip, and every controller has a maximum current per output channel. Your 100 W supply will happily deliver more than the controller can pass. When people say "I bought a big enough supply and it still dimmed and got hot", the bottleneck is almost always the controller output rather than the supply.
To check, convert your load to current:
Current (A) = watts ÷ supply voltage
72 W on a 12 V system is 6 A. On a 24 V system the same 72 W is 3 A. Compare that against the controller's per-channel rating. If your strip is a colour type, the total splits across the channels — but do not assume it splits evenly, because full white drives every channel at once, which is the worst case and the one to size for.
The white test. Whatever effect you plan to run, set the strip to full white at full brightness for ten minutes and feel the controller and the supply. Colour effects rarely drive every channel hard at the same time, so a marginal install can look perfectly healthy for weeks and then overheat the first time somebody picks white. If it is comfortable on white, it is comfortable on everything — including all night, which is what a correctly sized low-voltage supply is designed for.
Why the far end goes dim
The copper inside a strip is thin, and it has resistance. Every LED along the way draws current through the copper that precedes it, and each stretch of copper drops a little voltage. By the far end, the LEDs are receiving less than the LEDs at the head, so they run dimmer.
Three things follow from that, and all three are useful:
- It is worst at the start of the run, not the end. The first metre of copper carries the current for the whole strip, so most of the total drop happens there. This is why adding a thicker feed cable to the head of the strip helps and adding one at the tail does not.
- It shows on white before colour. White uses all channels at once, so it draws the most current and drops the most voltage. A run that looks even on blue can be visibly graded on white.
- Colour shifts as well as dims. As voltage sags, blue and green LEDs fade before red because they need a higher forward voltage. So the far end does not just get darker, it goes warmer and eventually pinkish. If you see a run drift toward red along its length, that is voltage drop, not a colour setting. The same effect reads as a colour-temperature drift on a dual-white run, where the warm and cool emitters do not fade at the same rate as the supply sags.
Voltage matters here more than anywhere else. For the same watts a 24 V strip carries half the current of a 12 V one, so the same copper drops half as many volts, and that drop is a smaller share of a larger nominal — a quarter of the effect. The usual single-feed limits, about 5 m for 12 V strip and about 10 m for 24 V, come from this. Behind a TV, 12 V is fine; along a 10 m cove, choose 24 V before you start planning injection.
Fix it: inject power from the same supply
The fix is to stop making all the current travel the whole length of the strip. You run a separate pair of wires from the same supply directly to a point further along — usually the far end — and connect them to the strip's power rails there.
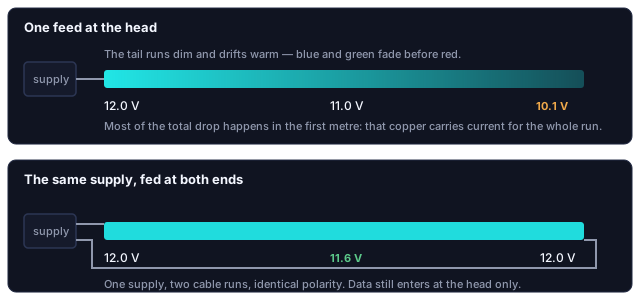
- Feed both ends from the same supply. One supply, two cable runs. The effective distance current has to travel is now half the strip, and the drop falls dramatically.
- Keep polarity identical. Positive to positive, negative to negative, at both ends. Reversed polarity at the second feed is a short across the supply.
- Use a cable that is genuinely thicker than the strip's copper. The whole point is to provide a lower-resistance path. Thin bell wire achieves very little.
- Do not carry the data line to the second feed. On addressable strip, power can be injected anywhere but the data signal must still enter at the head and travel in one direction. Injecting data at the far end does not help and will confuse the chain.
Two supplies with slightly different output voltages — and they always differ slightly — push current into each other through the strip. If a very long run needs two supplies, split the strip into electrically separate sections and join only the data line, never the power rails.
How to know whether you need it
Set the strip to full white, then measure the voltage across the strip's pads at the far end with a multimeter and read it against the row for your system:
| Nominal | Below 90%: inject power | Below 85%: visible to everyone |
|---|---|---|
| 12 V | under 10.8 V | under 10.2 V |
| 24 V | under 21.6 V | under 20.4 V |
Extend the run, or start a second one
At some point a run is long enough that the answer is not more strip. Deciding between the two is straightforward if you ask the right question.
| Situation | Do this |
|---|---|
| You are under the strip's stated maximum run length and under the controller's channel rating | Extend the existing run |
| You are past the maximum run length but the effect must be continuous | Extend, and inject power at the far end |
| You are past the controller's current rating | Second controller. The supply is not the limit here |
| The new section is in a different room or on a different surface | Second run, its own controller. Trying to make one run serve two spaces means cable routed where you will regret it |
| You want the two sections to do different things | Second controller — one channel does one thing at a time |
Every addressable strip also has a maximum number of pixels its controller can address; our Y16 pixel platform, for example, tops out at 1000 per controller. Past that count the extra LEDs either stay dark or repeat the pattern from the beginning. That limit is in the controller's specification, and it is not adjustable in the app.
What it costs to run, and what to switch off
Decorative strip is a small load. A 5 m run of 14.4 W/m strip at full white draws 72 W — comparable to a single old-fashioned filament bulb. Run four hours a day, that is under 0.3 kWh, and most decorative effects use well under half of the full white figure because they never drive all channels at once. Whatever your electricity costs, this is not the thing to worry about. The supply's idle draw when the lights are off is a more interesting number over a year, and it is why we would rather you switched a run off at the socket than left a supply idling permanently.
How the mainstream strips avoid the far-end problem
The branded strips solve voltage drop by capping length rather than by injection. Their limits are the same arithmetic as above, applied by the maker instead of by you.
| Strip | Voltage and supply | Maximum run | How the limit is enforced | Documented complaints |
|---|---|---|---|---|
| Philips Hue Lightstrip Plus V4 | 24 V, 20 W adapter (0.83 A), 1600 lm | 2 m base plus 1 m extensions, to 10 m | Philips states brightness holds up to 10 m; past that you buy a second base kit | The adhesive does not survive being repositioned |
| Govee RGBIC Strip M1 (H61E1) | 24 V, 72 W kit for 5 m, 730 lm per metre, 60 LEDs per metre | 5 m kit extends to 10 m | The kit ships with its own controller and adapter; a larger supply cannot be fitted | Adhesive letting go within weeks is the most common complaint |
| LIFX SuperColor Lightstrip | A Wi-Fi controller in each segment | 10 m, 30 W in total | Total load, not voltage drop, sets the cap | 2.4 GHz Wi-Fi only |
| Ours | 12 V or 24 V passive strip, supply sized to the load at 1.25× | Set by the controller's per-channel rating and by where you inject | You choose the supply and inject from it | The far end dims first if the injection step is skipped |
Govee's 72 W adapter for 5 m of 14.4 W per metre strip is a 1.44× margin, close to the 1.25× used above. The difference is that their margin is fixed in the box, while ours is a supply you pick, which is what makes injection from the same supply possible at all.
Sources: Hue Home Lighting, Lightstrip Plus versions; The Ambient, Govee M1 review; LIFX Lightstrip 120 inch kit.
What you see, what it means, what to do
| What you see | Cause | Do |
|---|---|---|
| Far end duller than the head, worse on white | Voltage drop | Inject power at the far end from the same supply |
| Far end drifts warm or pinkish | Voltage drop; blue and green fade first | Inject, or split the run |
| Supply too hot to hold | Running near its rating | Re-size at load × 1.25 |
| Supply fine, controller hot, strip dim | Controller channel rating exceeded | Second controller; the supply is not the limit |
| Supply buzzes | Driven near its limit, or a dimming frequency its components respond to mechanically | Check the load first; if the load is comfortable, try another supply before blaming the controller |
| Extra LEDs dark, or the pattern repeats | Past the controller's pixel limit | Second controller |
Read the W/m off the reel, multiply by the length, add a quarter, then check the controller's amps and run the white test. If the tail still reads under 90% on white, inject from the same supply.
Questions about a specific controller of ours? Contact us.