Stair lights: where to mount them and why the sensor trips from the landing
The strip went on the riser face because that was the easy surface, and the sensor went at the top of the flight where it also sees the whole landing. The result is glare in your eyes on the way down and a staircase that lights up every time someone crosses the hall. A stair light has one job, making the edge of each step readable in the dark without waking the house, and both mistakes come from forgetting it.
Key takeaways
- Mount under the nosing, aimed down: the only position that marks the edge and keeps the LEDs out of your eyeline both ways.
- Cut a channel only a few millimetres deeper than the strip, or use a clip-on extrusion; the nosing is the most loaded part of the tread.
- Warm white, dim enough to still see the dark hallway beyond; the US code floor is 1 foot-candle at the tread centre.
- A sensor tripping from the landing is a coverage problem: mask part of the lens or move it lower; aim across the flight, not along it.
- Short the supply's output on the bench before anything is fixed down: a protected supply cuts out, an unprotected one cooks the first bad joint.
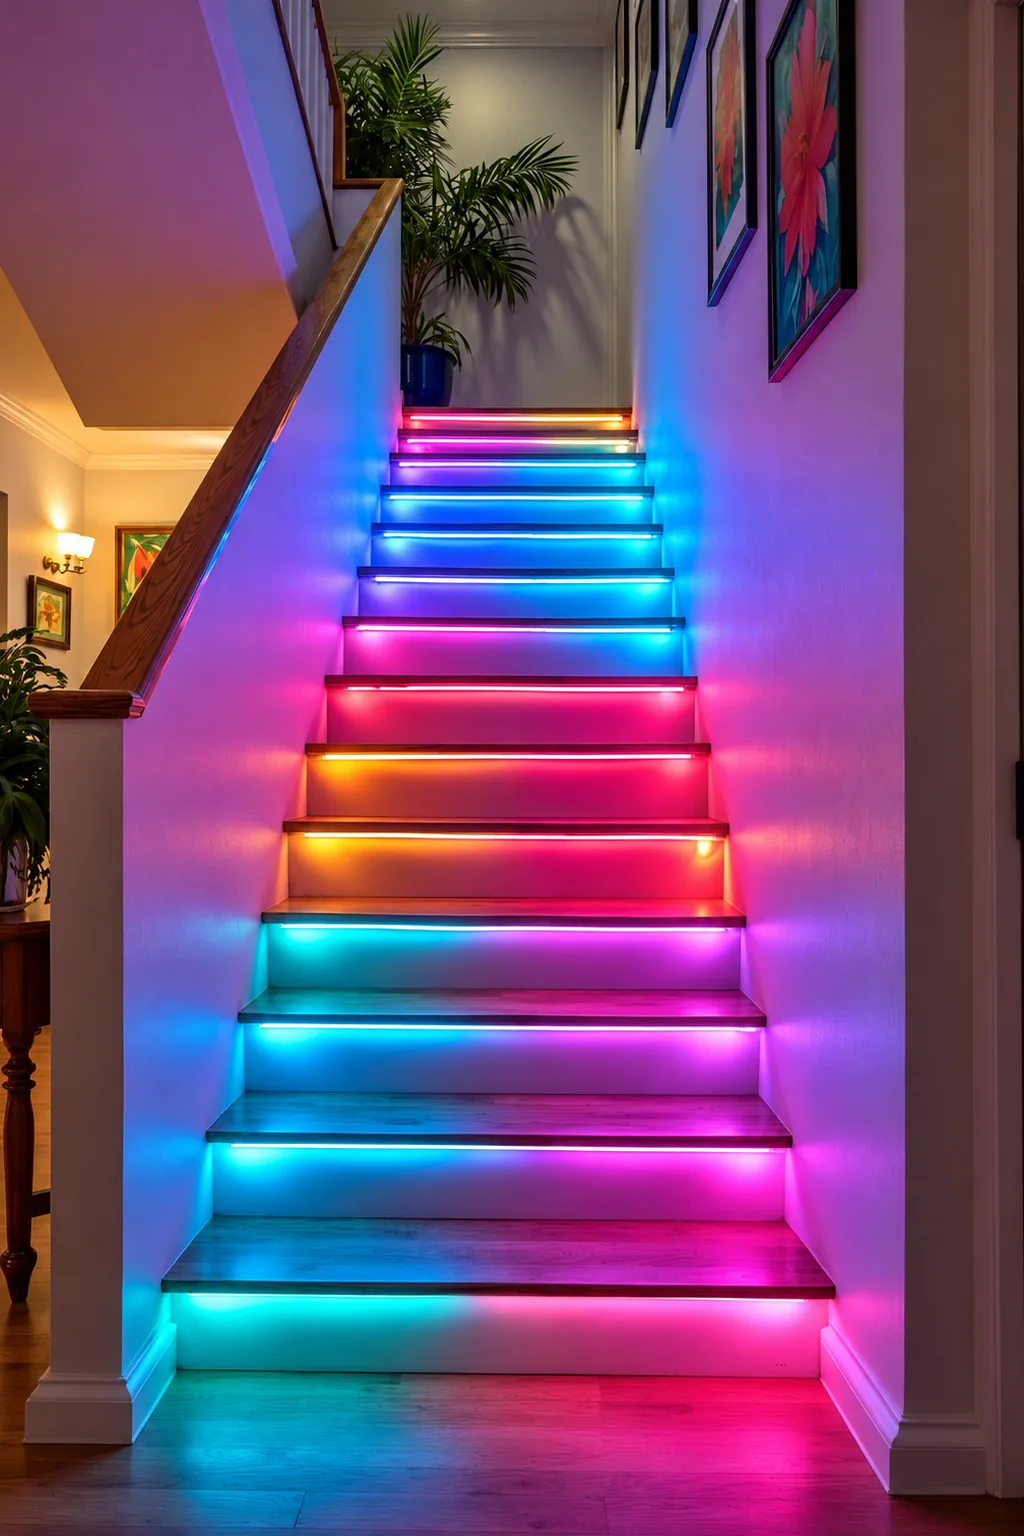
Where to mount the strip: nosing, riser or stringer
| Position | What it does well | What it does badly |
|---|---|---|
| Under the nosing (tread overhang), aimed down | Marks the exact edge you are about to step off. The single best choice for safety. | Needs a routed channel or a hidden lip. Visible strip here is glare at eye level on the way up. |
| On the riser face, aimed across the step | Easiest to install: surface-mounted, no routing. | Washes the whole staircase rather than marking edges, and shines close to eye level for anyone looking down the stairs. |
| Along the stringer (the wall or open side) | Good ambient fill for a wide staircase. | Does not mark individual step edges at all. The worst option if the goal is safety rather than atmosphere. |
If you are choosing one position for a safety install rather than a look, mount under the nosing. It is more work, since most nosings need a shallow channel cut or a clip-on extrusion, but it is the only position where the light source itself stays out of your eyeline in both directions.
Cutting the channel without weakening the tread
If you are routing a channel rather than using a clip-on extrusion, cut it shallow: a few millimetres deeper than the strip itself is enough. Cutting deeper removes structural wood from the exact part of the tread that takes the most repeated load, right at the nosing edge where a foot lands first on the way down. A clip-on aluminium extrusion avoids the question entirely, because it fixes to the underside of the nosing rather than into it. On an existing staircase, where you cannot easily check how much solid wood is left under the nosing before cutting, the extrusion is the safer default.
How bright, and how warm
A stair light protects the eyes' dark adaptation; it does not illuminate the staircase. Set it low enough that you can still see the darker parts of the hallway beyond the stairs. Keep it warm white, 3000K or lower, which reads as a night light against wood and paint. Cool white at night reads as glare far more readily and delays your eyes readjusting to the dark once you are past it. If you can read the nosing edge clearly but the light itself is not a thing you notice, the level is about right.
What the building code asks for
In the US, IRC Section R303.7 sets the minimum for interior stairways. Local amendments vary, so confirm with the inspector if the install is part of work that needs sign-off.
| Requirement | IRC R303.7 | On site |
|---|---|---|
| Illumination | At least 1 foot-candle (11 lux), measured at the centre of each tread and landing | One candle at one foot, which is the unit's definition. A low bar: stair safety lighting is meant to be sufficient, not bright |
| Switching | A wall switch at each floor level where the stairway has six or more risers | Without it, a new switch leg has to run to the far end of the flight |
| Exception | No switch required where remote, central or automatic control of the lighting is provided | A motion-triggered stair light is automatic control, which is why it can meet this without a second switch |
The code minimum is a floor, not a target. A step edge lit right at 1 foot-candle is compliant but still a dim, low-contrast edge to judge in a hurry. The installs we would call comfortable to use sit somewhat above it, which is why the guidance above leans toward "readable without being noticed" rather than the bare legal floor.
Why the sensor trips from the landing
Motion-triggered stair lights use a small PIR sensor with a detection cone, and the single most common complaint is the light coming on from someone standing on a landing or in a hallway well away from the stairs. It is almost always a coverage problem, not a fault: a sensor mounted at the top of a flight with a wide detection angle covers the landing as well as the top step, because the cone does not stop at the edge of the stairs.
| Symptom | Cause | Fix |
|---|---|---|
| Lights when someone crosses the hall | Cone covers the landing as well as the steps | Mask part of the lens, or move the sensor down to the first steps |
| Misses someone walking straight up | Sensor aimed along the flight; PIR sees motion across its zone, not toward it | Turn it to look across the stair |
| Triggers with nobody there | A radiator or heating vent in the cone, or a radar sensor seeing through a thin wall | Aim away from heat sources; use PIR next to a hallway |
| Bottom steps go dark under a slow walker | Dwell time set from a brisk test walk | Set it for the slowest reasonable use of the stairs |
The two coverage fixes, in order of how much they help:
- Narrow or mask the sensor. Some units ship with a masking sleeve or tape for exactly this. Covering part of the lens narrows the cone to just the stairs.
- Move the sensor lower, closer to the first two or three steps, so its cone points down the flight rather than out across the landing.
The opposite complaint, a light that does not trigger reliably, is usually the sensor aimed along the direction of travel rather than across it. PIR sensors respond to a body moving across the detection zone, not toward it; someone walking straight up a narrow staircase toward a head-on sensor can under-trigger it. Aiming slightly across the stair, so the sensor sees lateral motion as a person steps, is more reliable than aiming straight down the flight. Mounting height and the choice between PIR and radar are covered with the wiring in stair running water lights.
Set the dwell time for the slowest person
The delay before the light switches off after motion stops is usually adjustable in the app. The common mistake is setting it too short, tuned to how long it takes to walk past the sensor rather than how long it takes to walk down the whole flight. A person descending slowly with a laundry basket finds the bottom steps going dark under their feet if the dwell time was set by watching someone walk briskly past on a test run.
Or skip the sensor: always-on at a low level
Most controllers support a fixed low-brightness always-on mode alongside the motion setting. Use it for a staircase with poor PIR coverage, or one used constantly enough that triggering adds no value. On our app-connected stair controllers it is the same setting that holds the first and last step at a standby level, applied to every step.
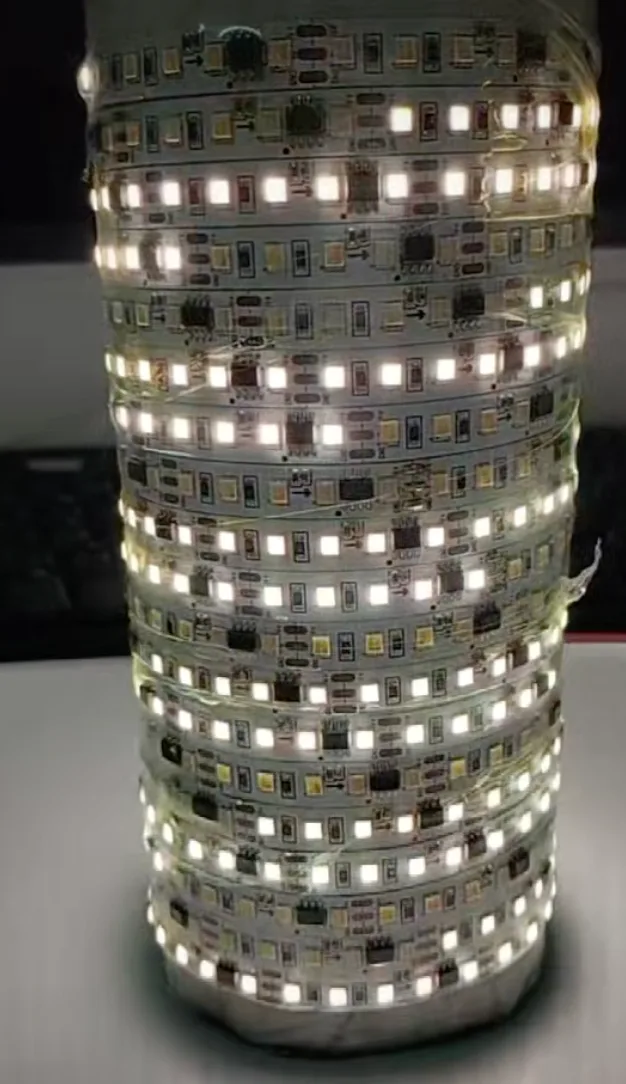
Plan the run before you cut anything
Most stair kits run one continuous low-voltage strip fed from a single transformer, cut to length at marked points and linked step to step with short connector cables. Decide the run direction before cutting. Fixed-colour and tunable-white strip can be cut and rejoined either way, but if the kit uses addressable segments per step for effects, the data direction only works one way, so plan the path from the controller to the far end before you commit to a cut. Which of the two wiring schemes you have, one cable per step or a single bus, decides this; both are explained in stair running water lights.
Short-circuit protection: the one supply specification that matters here
Stair lighting is the application where a strip gets cut and re-terminated more than anywhere else on this site. One segment per step means fifteen cuts and thirty solder joints on an ordinary staircase, every one of them a chance to bridge the positive rail to ground: a stray whisker of copper, a solder bridge under the silicone, a screw driven through a run behind a riser.
What happens next is decided by the supply, not by the strip. A constant-voltage supply without over-current protection will go on trying to hold its output voltage into a dead short. The current goes wherever the fault is, and the heat appears at the joint you made: the copper track discolours, the silicone scorches, and in the worst version the adhesive lets go and the strip drops out of its channel still connected. None of that is the strip failing. It is the supply doing exactly what it was told to do.
A supply with short-circuit protection shuts the output down instead, either latching off until it is power-cycled, or retrying briefly on a cycle (usually called hiccup mode) so it recovers on its own once the fault is cleared. Both are fine. What matters is that something decides to stop.
With the strip disconnected, briefly short the supply's output leads together. A protected supply cuts out and comes back when you separate them; an unprotected one holds voltage and gets warm. Thirty seconds on the bench, and it tells you what the datasheet often does not: many cheap supplies list an output current and say nothing about what happens above it.
Two habits follow from this. Power up each step's segment on the bench before anything is fixed down, because a short found on a table costs nothing and the same short found behind a finished nosing costs a stair tread. And where a run passes behind a riser that anyone might later screw into, a handrail bracket, a stair rod, a carpet gripper, record where it goes in the handover notes. The fault that arrives two years later is almost always a fixing driven through a cable nobody knew was there. Sizing the supply itself, and fixing a top step that comes out duller than the bottom one, is in LED strip length and power.
How many steps, and which side
Do I need to light every step?
No. Lighting every second or third step, and letting the light spill onto the ones between, is usually enough to read the whole flight and uses less strip and fewer connections.
One side or both?
One side is enough on stairs up to about a metre wide. Wider stairs benefit from both sides, or from nosing-only lighting instead of a side run.
What to do now
Pick the nosing, and pick a clip-on extrusion unless you can see how much wood is under it. Light every step on a narrow flight and every second step on a wide one. Short the supply on the bench, power each segment before it is fixed, and set the dwell time from the slowest walk, not the fastest. Our stair controllers pair in Lotus Lantern; the mapping for every category is here.
Questions about a specific stair controller of ours? Contact us.