Installing cabinet lighting: no glare, the right sensor, and how far one driver reaches
The strip is stuck flat to the underside of the wall cabinet, and everyone who looks up from the sink sees a row of LEDs. Glare is the complaint we hear most about cabinet lighting, and it is a mounting-position fault, not a brightness one.
Key takeaways
- Set under-cabinet strip 1–2 cm back behind the cabinet's front lip. Flush on the underside, it is visible from anywhere in the kitchen.
- In a display cabinet, a reed switch on the door does on/off; brightness and colour temperature come from the app.
- Battery light inside a cupboard: PIR. Mains task light that should be on before your hand arrives: radar, sensitivity turned down.
- The cabinet furthest from the driver dims first. Six or more cabinets on one chain: specify 24 V or inject power partway.
- Never bend strip round a corner. Use a corner connector, or cut at the mark and jumper across.
Under the cabinet: hide the source, not the light
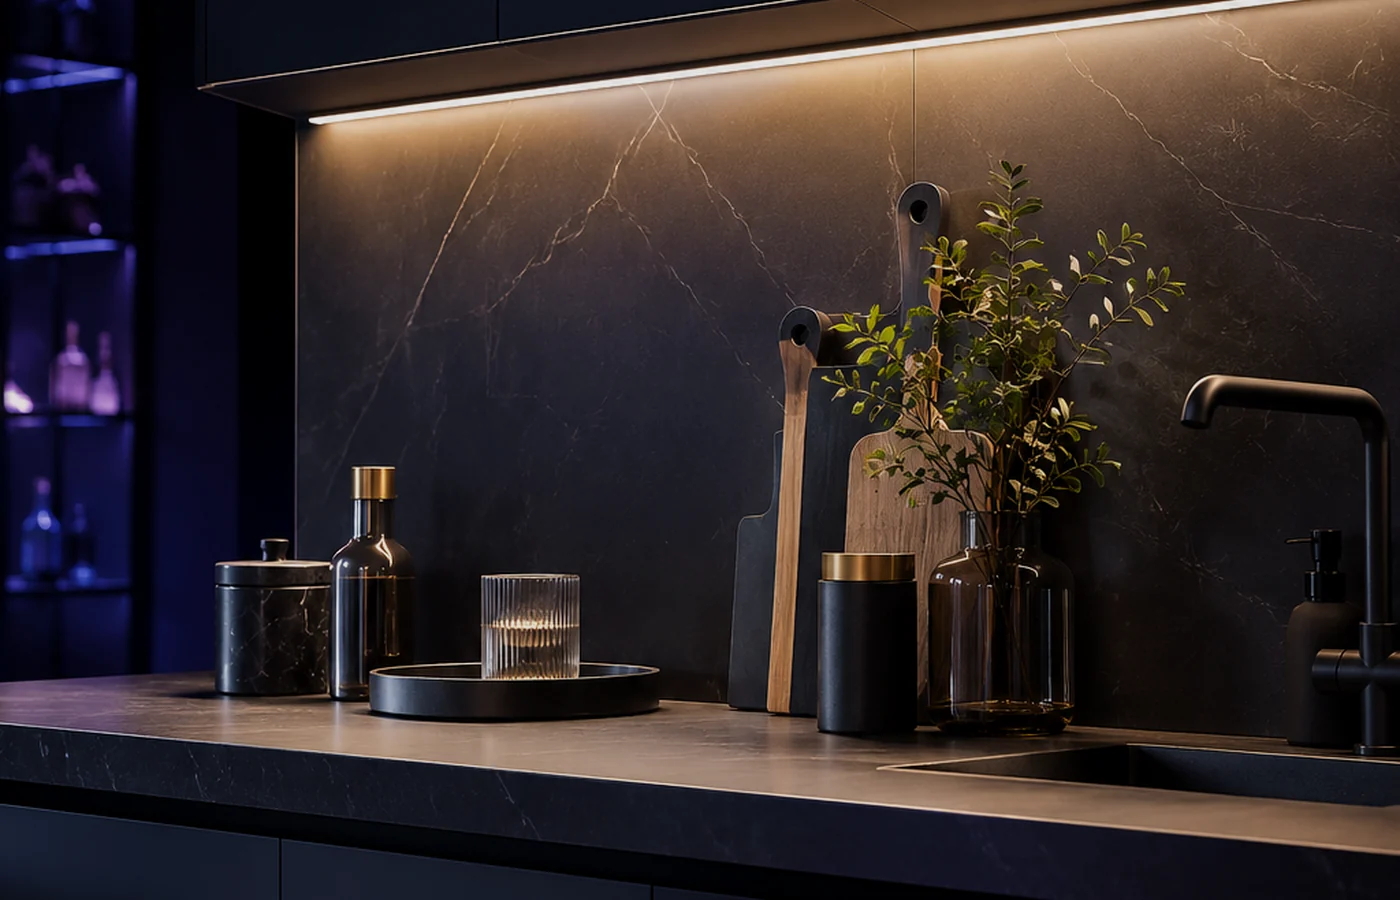
Strip along the bottom front edge of a wall cabinet sits close to eye height for anyone standing at the counter or across the kitchen. Mounted flush on the flat underside, it is in direct view from a normal standing position. The same strip set a centimetre or two back behind the cabinet's front lip is invisible from everywhere except directly underneath, looking straight up. Almost every wall cabinet has a shallow recess at the front edge for exactly this.
- Find the lip. Run a hand along the front bottom edge; the recess behind it is usually 1–3 cm deep.
- Mount the strip inside the recess, behind the lip, LEDs facing down at the worktop rather than out into the room. If the cabinet has no lip, an aluminium channel with a frosted cover screwed to the underside does the same job and hides the individual dots.
- Check from across the kitchen, standing, with the room lights off. If you can see LEDs rather than a lit worktop, the strip is not far enough back.
Inside a display cabinet: let the door switch the light
Glass-front cabinets and wardrobes want light on when the door opens and off when it closes, with no app interaction day to day. A magnetic reed switch does that: a small sensor on the frame, a magnet on the door, wired in line with the strip, no controller logic needed for the basic on/off. Our controllers sit on top of that trigger — the reed switch decides when, the app decides how bright and how warm.
Where the switch sits on the door decides how early it fires. The switch closes when the magnet is within roughly 10–15 mm; the exact figure is on the part. Near the handle, the magnet swings clear within the first few degrees of opening, so the light comes on as soon as the door cracks. Near the hinge, the magnet barely moves until the door is well open, so the light comes on late — but a door left not quite latched stays dark instead of burning a battery all night. For a wired display cabinet, mount at the handle side. For a battery light in a cupboard that is often left ajar, move it toward the hinge.
PIR or radar: which sensor for which cupboard?
A reed switch answers "is the door open". A light that comes on as you reach for the worktop, or as you walk into the pantry, needs a motion sensor, and the two kinds in this product class fail in opposite directions.
| PIR (passive infrared) | Radar (5.8 GHz / 24 GHz microwave, 60 GHz mmWave) | |
|---|---|---|
| Detects | A warm body crossing between detection zones | Any movement, by frequency shift |
| Blocked by | Anything solid — a cupboard door, a panel, even glass | Metal only; sees through a door, a plasterboard wall, a worktop |
| Someone walking straight at it | Often missed — no zone crossing | Seen, including slow approach and small movements |
| Standby current | Microamps | Milliamps |
| Typical false trigger | Sunlight or a radiator warming in its view | Someone walking past on the other side of the units |
| Fit it where | Inside a cupboard, battery powered | Mains under-cabinet task light, range turned down |
Battery-powered, inside a cupboard, short dwell: PIR. Mains-powered under-cabinet task light where you want it on before your hand arrives: radar, with the sensitivity turned down and the detection range set deliberately rather than left at the factory maximum. The same placement logic at room scale is in stair lighting: why the sensor triggers from the wrong place.
Battery-powered: the standby current is the specification
Battery cabinet lights are sold on runtime, and the runtime is almost always quoted for the light being on. That is not what drains them. A sensor light spends nearly all its life waiting, so the standby draw of the sensor and controller sets how long a charge lasts. A radar module in a cupboard nobody opens for a week will flatten a cell that a PIR would have kept alive for months.
Confirm two things before buying: the standby current, and whether the pack has over-discharge protection. A cell run flat and left flat does not always come back, and a cabinet light that will not recharge after a long holiday is usually this rather than a fault.
Colour temperature: task light and display light want different answers
| Where | Setting | What it does |
|---|---|---|
| Under-cabinet task light | 4000–5000K | Neutral white; you can read a label and see the cut line, and produce looks its real colour |
| Inside a display cabinet | 2700–3000K | Warm; glass and crockery look like a gallery shelf rather than a lab bench |
| One fixed-colour strip for both | 3500K compromise | Slightly wrong in both roles rather than right in either |
If the kitchen has one driver output and you want both behaviours, tunable-white strip is the fix: cool while you are prepping, warm once the cabinets are only for evening ambience, on the same run. Which tunable-white wiring dims cleanly is in dual-white strip: 2-wire vs 3-wire.
Colour rendering matters here more than most buyers expect. A cheap strip can be the right white on the kelvin scale and still make produce look off, because its CRI is low. For a worktop, ask for CRI 90 or above. Ours are specified for food-preparation use; if you are pricing another strip against ours, ask for its CRI figure, not only its colour temperature.
How many cabinets one driver runs
Cabinet runs are short individually — one per cabinet — but kitchens daisy-chain several off a single driver to avoid a transformer behind every door. The arithmetic from sizing the supply applies at a smaller scale: every metre added to the chain raises the current the driver and the first metre of cable carry, and the cabinet furthest from the driver goes dim first. If the last cabinet looks dimmer or warmer than the first, that is voltage drop along the chain, not a bad strip.
- Add up the strip. A common 12 V strip draws about 4.8 W per metre. A 60 W driver run at 80% gives 48 W of usable output — about 10 m of that strip before the driver itself is the limit.
- Count the cable separately. Thin daisy-chain cable between cabinets adds resistance the strip's own copper does not have, and every metre of it between the driver and the far cabinet drops voltage before the LEDs see it.
- Check the system voltage. The same drop is proportionally twice as bad on 12 V as on 24 V: the same power at double the voltage halves the current, and drop scales with current. Six or more cabinets on one chain, ask whether the kit is 12 V or 24 V before trusting the driver's wattage alone.
- Fix the dim end. Inject power partway along the run, or split the chain into two shorter ones from the same driver.
Corners: the detail that separates a tidy run from a dead section
An L-shaped counter or a run that turns into a peninsula needs the strip to change direction, and the corner is more visible than almost anything else in the install. Strip bent flat round an outside corner is stressed at the point its copper traces are thinnest, and a dead section starting at a corner months after installation is usually that. Two options keep the strip straight and put the flex in a joint made for it:
- A corner connector piece. Most of our tunable-white and single-colour strip kits include one for exactly this.
- Cut and jumper. Cut at the marked cut point before the corner and rejoin with a short jumper cable bent to the angle.
How the mainstream cabinet lighting systems are put together
| System | What you buy | Driver rule | Colour temperature | What to watch |
|---|---|---|---|---|
| IKEA MITTLED with the TRÅDFRI driver | Fixed-length bars of 20, 40, 60 and 80 cm, CRI above 90, IP20, each with its own connection lead | The 10 W driver takes up to 3 lights and 10 W in total; the 30 W driver up to 9 lights and 30 W; over that, the lights flicker | 2700 K only | No tunable white, so prep light and display light share one colour temperature |
| IKEA VAXMYRA spots with the ANSLUTA driver | 1.4 W, 65 lm puck spots, CRI above 90 | A separate driver | 3000 K | Point sources reflect as bright dots in glass doors |
| Govee RGBIC and COB strips sold for cabinets | Cuttable RGBIC strip; a 5 m kit is listed at about 1800 lm and CRI above 80; the COB version has no visible dots | The supplied controller and adapter, over Wi-Fi with an account | 2700–6500 K | SMD strips reflect as a row of pinpoints on polished quartz |
| Ours | Cuttable single-colour or tunable-white strip, a 12 V or 24 V driver sized to the load, a reed switch or sensor for the trigger | Size the driver to the chain, as above | Tunable white | The app sets brightness and colour temperature only |
IKEA's rule, count the fixtures and stay under the driver's wattage, is the same arithmetic as sizing the driver for the chain above, done in fixtures instead of metres. The two glare complaints in the table, dots in glass doors and pinpoints on polished stone, are the reason the mounting section sets the strip back behind the front lip: the eye and the worktop then see the light, not the LEDs.
Sources: IKEA, TRÅDFRI driver; IKEA, VAXMYRA spotlight; Govee, under-cabinet lighting; Houzz discussion on LED reflections in quartz.
When the install misbehaves
| What you see | Likely cause | What to do |
|---|---|---|
| You see LEDs every time you look up | Strip mounted flush on the underside | Move it back behind the front lip, or into a frosted channel |
| Glass door reflects a row of dots | Source inside the reflection angle at normal viewing distance | Set the strip further back behind the door lip; a diffused channel turns dots into a wash |
| Last cabinet dimmer or warmer than the first | Voltage drop along the chain | Inject power partway, split the chain, or move to 24 V |
| Dead section starting at a corner | Strip bent round the corner; traces cracked | Replace that section; rejoin with a corner connector or jumper |
| Reed switch only fires with the door wide open | Switch too near the hinge | Move it toward the handle side |
| Light stays on with the door closed | Closed gap wider than the part's rating, or magnet misaligned | Shim or realign so the closed gap is under the stated figure |
| Light comes on when someone walks past the units | Radar seeing through the door or worktop | Turn the sensitivity and range down, or change to PIR |
| Battery light will not recharge after a holiday | Cell run flat on standby, no over-discharge protection | Check standby current on the next one; PIR for cupboards |
| App cannot find the light | Wrong app | This category runs on Lotus Lantern; see which app controls your light |
Under-cabinet and inside-cabinet runs can share one driver as long as the combined length stays within its output — size it as one run. The reed switch and the app do not compete: the switch controls on/off, and whatever brightness or colour temperature was set in the app applies each time the switch turns the strip on. Strip cuts at the marked points, the same as any of our single-colour or tunable-white strip.
Before you glue anything down
Measure each cabinet's lip depth and run length, add the cable between cabinets, and check whether the kit is 12 V or 24 V. Lay the whole chain out on the worktop and power it up first — a dim far end found on the bench is a driver decision; found behind the cabinets, it is an afternoon.
Questions about a specific cabinet light of ours? Contact us.